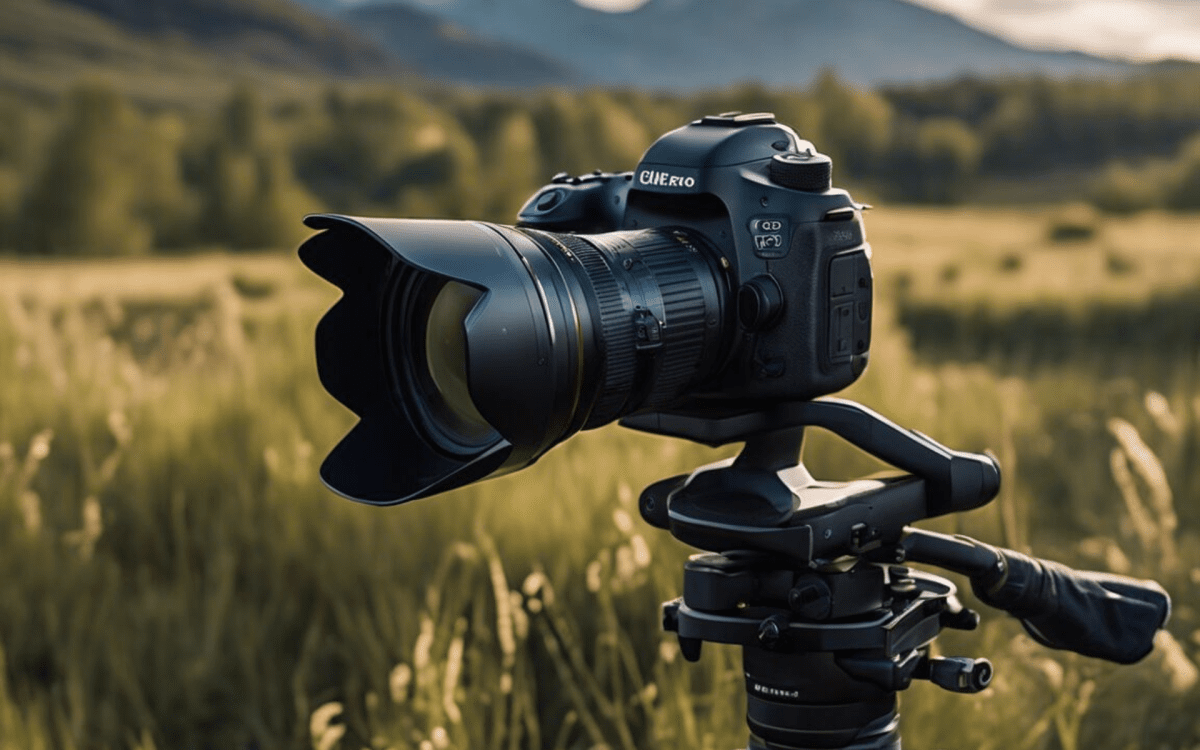
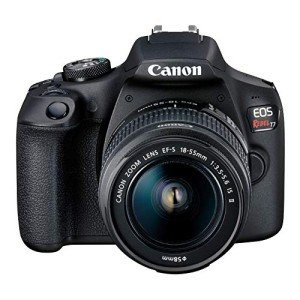
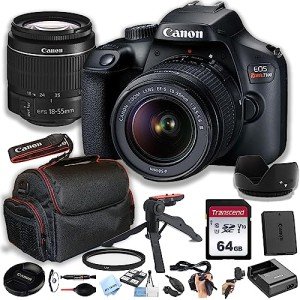
Balancing ISO with your aperture and shutter speed settings is essential for achieving great results with your DSLR camera.
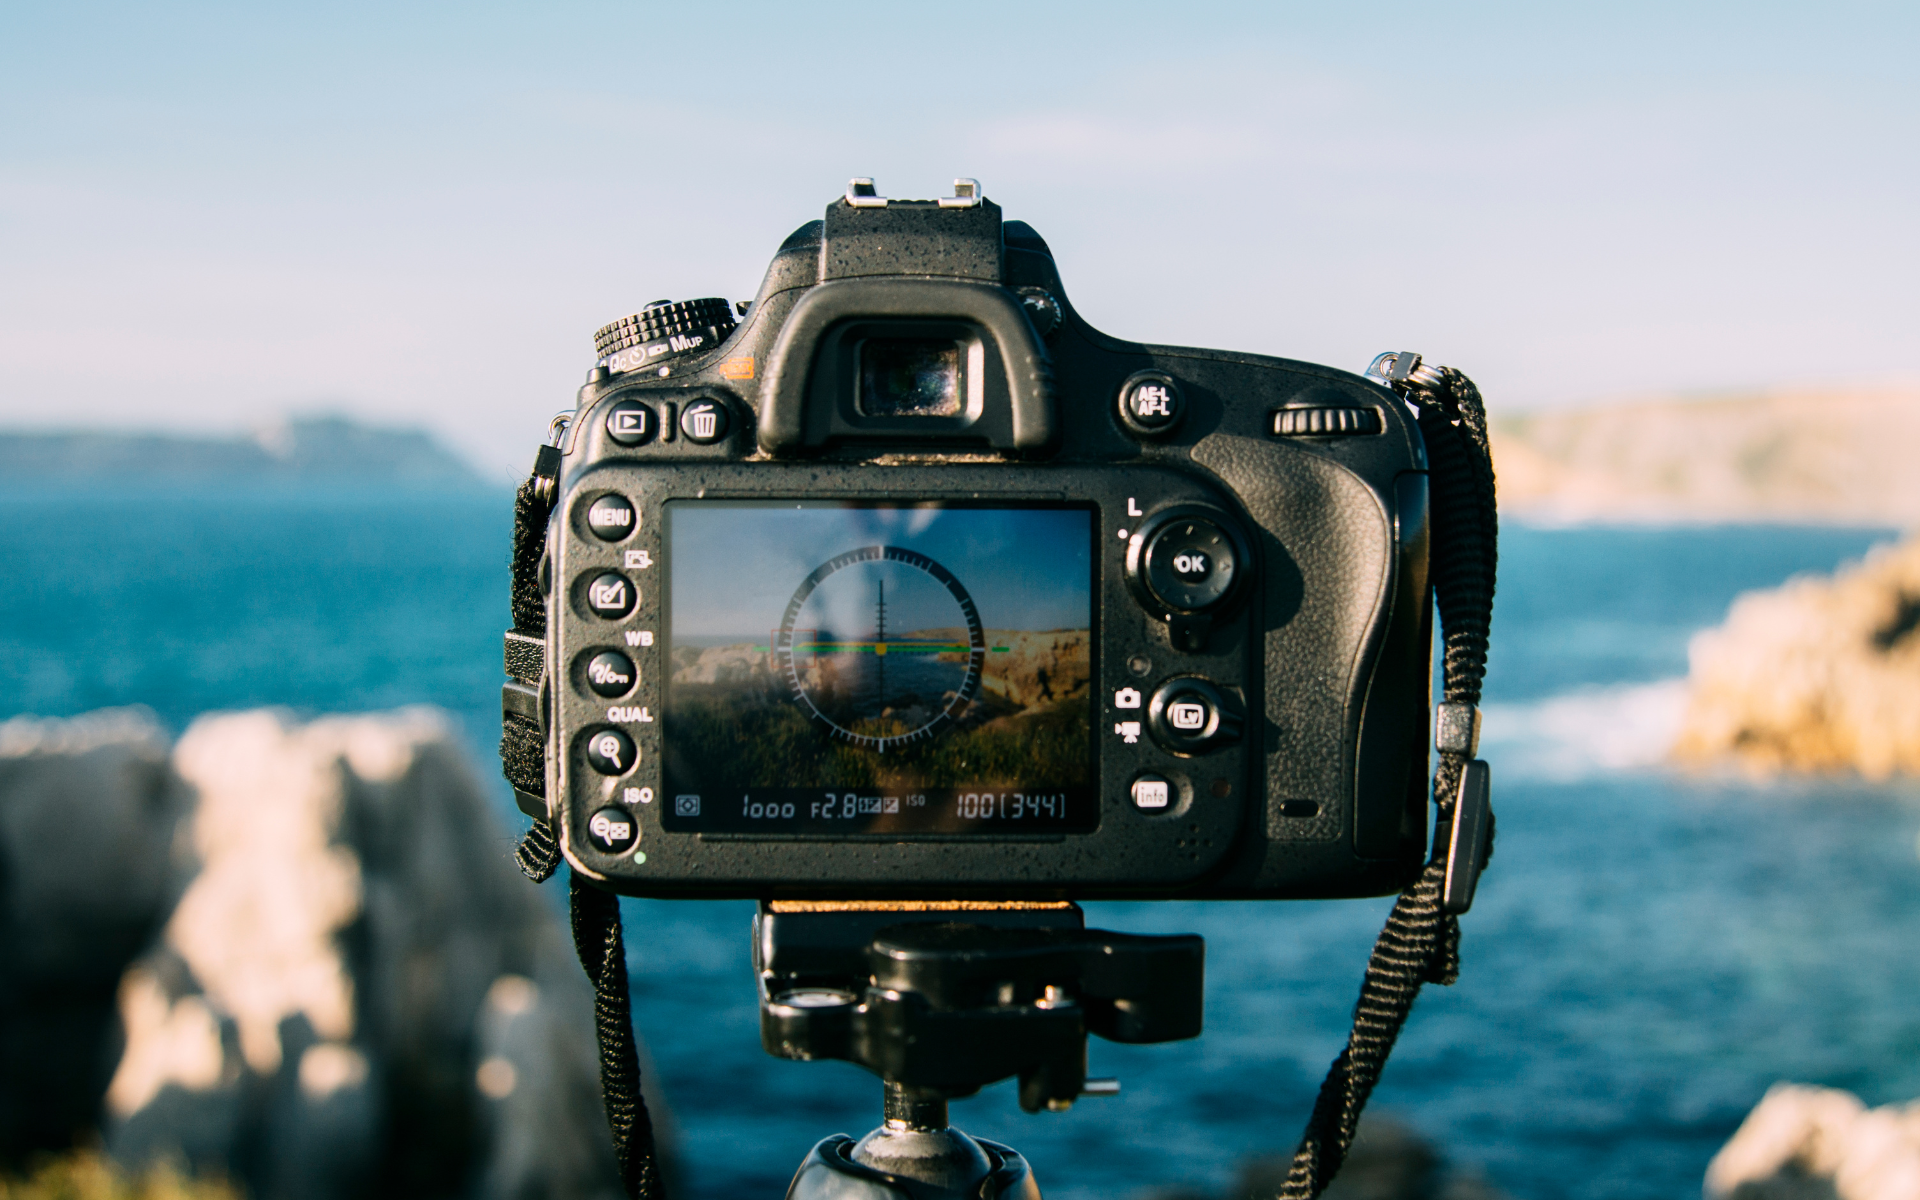
Aperture controls the amount of light that enters your camera through the lens. It is expressed in f-stops, such as f/2.8 or f/8. A low f-stop number means a wider opening, allowing more light in, while a high f-stop number means a smaller opening. Wide apertures are great for achieving a shallow depth of field, which can help isolate your subject from the background. This is particularly useful in portrait photography. On the other hand, a smaller aperture is ideal for landscapes, where you want everything in focus.
Shutter speed determines how long your camera’s shutter remains open when taking a photo. A fast shutter speed, such as 1/1000 of a second, freezes motion, making it perfect for action shots like sports or wildlife photography. Conversely, a slow shutter speed can create a blur effect, which works well for capturing movement, like flowing water or busy city streets at night. Learning to balance shutter speed with aperture is key to getting the right exposure on your DSLR camera.
ISO measures your camera sensor's sensitivity to light. A lower ISO, like 100 or 200, is ideal for bright conditions and helps keep your images crisp and clear. However, when shooting in low-light situations, increasing your ISO can help capture more detail without using a flash. Just be cautious: higher ISO settings can introduce noise or graininess to your images.
Choosing the Right Lens
When you embark on your journey to mastering your DSLR camera, one of the most important choices you’ll face is selecting the right lens. Lenses can dramatically affect the quality of your images, as well as the types of photography you can explore. Understanding the different types of lenses and their uses will help you make informed decisions that elevate your photography skills.
First, you’ll want to consider prime and zoom lenses. Prime lenses have a fixed focal length, which means they can deliver sharper images and allow more light, making them great for low-light situations. These lenses are perfect for portrait and street photography. On the other hand, zoom lenses offer versatility with multiple focal lengths, making them ideal for capturing a range of subjects without the need to change lenses constantly. If you plan to shoot a variety of scenes, a zoom lens might be your best bet.
Next, think about the aperture of the lens. A lens with a larger maximum aperture (like f/1.8 or f/2.8) allows you to take brighter photos and create beautiful background blur, known as bokeh. This is particularly useful for portrait photography when you want to isolate your subject from the background. In contrast, lenses with smaller maximum apertures are generally more budget-friendly but may not perform as well in low light.
Lastly, consider the focal length. Focal length, measured in millimeters, determines how zoomed in or wide your photos will appear. Wide-angle lenses (like 18mm or 24mm) are excellent for landscapes and architecture, while longer focal lengths (such as 85mm or 200mm) are perfect for wildlife and sports photography. Choosing the right focal length based on your interests will ensure that your DSLR camera captures your vision effectively.
Framing Your Shots Effectively
Another important concept to understand is leading lines. These are natural lines within your photo that draw the viewer's eye toward the main subject. Look for roads, rivers, or architectural features that can guide the viewer’s gaze. Using leading lines not only adds depth to your image but also makes it more engaging. Remember to experiment with different angles and perspectives to find the best way to incorporate these lines in your frame.
Pay attention to the background as well. A cluttered or distracting background can take away from the subject of your photo. When framing your shot, take a moment to analyze what’s behind your subject. If it isn’t contributing to your story, consider changing your angle or moving your subject to a different location. This careful attention to background details will help you create cleaner, more impactful images with your DSLR camera.
Lastly, don't be afraid to fill the frame with your subject. Sometimes, getting in close can reveal interesting details that would otherwise be missed. This technique works particularly well for portraits or macro photography. By making your subject the focal point of your composition, you can evoke emotions and tell a clearer story through your images. So grab your DSLR camera, start experimenting, and watch your photography skills grow!
Editing Basics for Stunning Photos
Editing your photos is an essential step in the photography process, especially when you want to enhance the stunning images you've captured with your DSLR camera. Whether you're aiming for a natural look or a creative twist, knowing how to edit your photos can make a significant difference. The good news is that you don't need to be a professional to get started—basic editing techniques can elevate your images dramatically.
Begin by familiarizing yourself with a user-friendly photo editing software. Programs like Adobe Lightroom or even free options like GIMP can provide you with the essential tools you need. After importing your photos taken with your DSLR camera, start with basic adjustments, such as cropping and straightening your image. This simple step can help remove distractions from the edges and focus attention on your subject.
Next, pay attention to the exposure and contrast. Often, images can appear flat right out of the camera. Use the exposure slider to brighten or darken your photo, and adjust the contrast to add depth. A little goes a long way—small tweaks can transform your photo from dull to dynamic without losing its natural integrity. Adjusting the highlights and shadows can further enhance details in both bright and dark areas, bringing your photos to life.
Color correction is another vital aspect of photo editing. Adjust the white balance to ensure that colors look true to life. A common issue with photos taken in different lighting conditions is color casts that can make whites appear yellow or blue. Tools like the temperature and tint sliders can help you achieve the perfect balance. Additionally, consider boosting saturation and vibrance to make colors pop, but be careful not to overdo it, as this can make the photo look unnatural.
Finally, don’t forget about sharpening and noise reduction. Images taken at high ISO settings may exhibit graininess, especially in low light. Use noise reduction tools to clean up your photo while applying sharpening to enhance texture and details. Once you've made these adjustments, you'll find that your DSLR camera photos can transform into stunning images that reflect your creative vision.
